How To Knit A Hat- Beginners Guide

Knitting is a craft that anyone can learn quickly. Even if you know nothing about knitting needles, making a hat can be an excellent project to learn new techniques and create a practical and stylish accessory. Did you know that knitting has only four basic stitches - the knit stitch, the purl stitch, the yarn over, and the slip knot? Once you master these, you can create any pattern with ease. To begin with the basic knit and purl stitches, read this blog.
Before we get started, let's talk about gauge.
Gauge is an essential concept in knitting that measures the size of stitches and rows in a knitted fabric. It is crucial to ensure that your finished project matches the size and fit intended by the pattern designer. The number of stitches and rows per inch or centimeter of knitted fabric determines the gauge. Every knitter has a unique tension, which means that two knitters using the exact knitting needle sizes and yarn can produce different-sized fabrics. By understanding gauge, you can confidently create well-fitting and beautiful knitted projects.
Let's start making our beginner-friendly hat with a simple pattern by following the steps below.
Ribbed Hat
- Yarn: Any color, any yarn of your choice
- Knitting Needles: Use preferably circular knitting needles as per your weight
- Yarn needle
- GAUGE: 16 sts = 4" (10 cm); 20 rows = 4" (10 cm) in ribbing, slightly stretched.
- The circumference of the hat is 18" (45.7 cm) (stretched somewhat), which fits most adults.
Pattern
- Begin the hat by casting on 70 stitches.
- Row 1 (Wrong Side): *Purl 2, knit 2; repeat from * to the last 2 stitches, then purl 2.
- Row 2 (Right Side): *Knit 2, purl 2; repeat from * to the last 2 stitches, then knit 2.
- Repeat Rows 1 and 2 until the work measures 10 inches from the start, ensuring you finish with the wrong side row.
To shape the crown:
- Row 1 (Right Side): *Knit 2, purl 2 together (decreasing 1 stitch); then repeat from * to the last 2 stitches, knit 2 – resulting in 53 stitches.
- Row 2 (Wrong Side): *Purl 2, knit 1; repeat from * to the last 2 stitches, then purl 2.
- Row 3: *Knit 2, purl 1; repeat from * to the last 2 stitches, then knit 2.
- Row 4: Repeat Row 2.
- On the next Row: *Knit 2 together, purl 1; repeat from * to the last 2 stitches, then knit 2 – resulting in 36 stitches.
- Following Row: Purl 2, *knit 1, purl 1; repeat from * to the end.
- Next Row: *Knit 2 together; repeat from * to the end – resulting in 18 stitches."
- Next Row: Purl
- Last Row: *K2 tog; rep from * to end – 9 stitches.
- Cut yarn, leaving a long end for seaming. Gather the remaining stitches tightly and securely by weaving the yarn through them. Sew the back seam. Sew the reverse side seam, which will be turned up for the brim, beginning about 3 inches from the bottom.
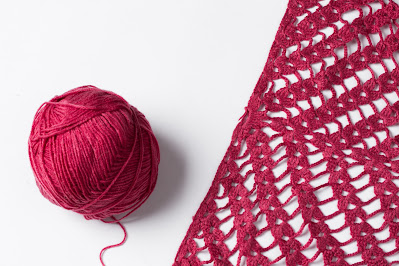
Choosing the Perfect Yarn for Your Project
When it comes to knitting a hat, choosing the right yarn is crucial for the success of your project. The best hat yarn suits the hat's intended purpose, the season it will be worn in, and the desired look and feel of the finished product. Additionally, the weight of the yarn should be considered, with chunky and super bulky yarns being ideal for warm winter hats and lightweight yarns working well for spring and summer hats. Ultimately, the best yarn for your hat will depend on your specific needs and preferences and the characteristics of the yarn before making your selection.
Which type of knitting needles are best for knitting hats?
When it comes to knitting hats, circular knitting needles would be the best type of knitting needles to use. For most hats, 16" circular needles are suitable, but the length may vary depending on the size of the hat. Circular needles are preferred because they allow for easy knitting in the round, and the weight of the hat is distributed more evenly, reducing strain on the hands and wrists. In addition, double pointed knitting needles are often used for the decreased section of the hat when there are too few stitches to stretch the entire length of the circular needles. It's essential to match the material and size of the double-pointed needles to the circular needles used for the body of the hat.


Comments
Post a Comment